
Installation Accessories List

Mounting Bracket (1)
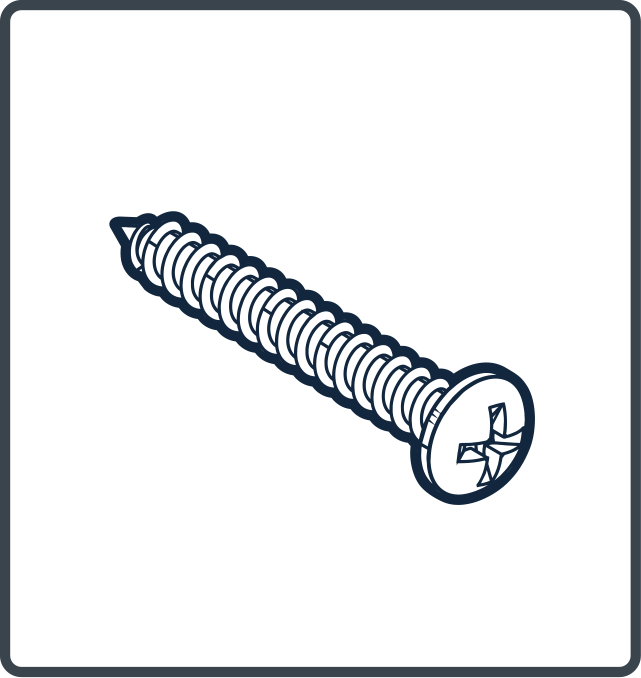
Screw (2)

Expansion Tube (3)
Mounting Bracket (1)
Screw (2)
Expansion Tube (3)
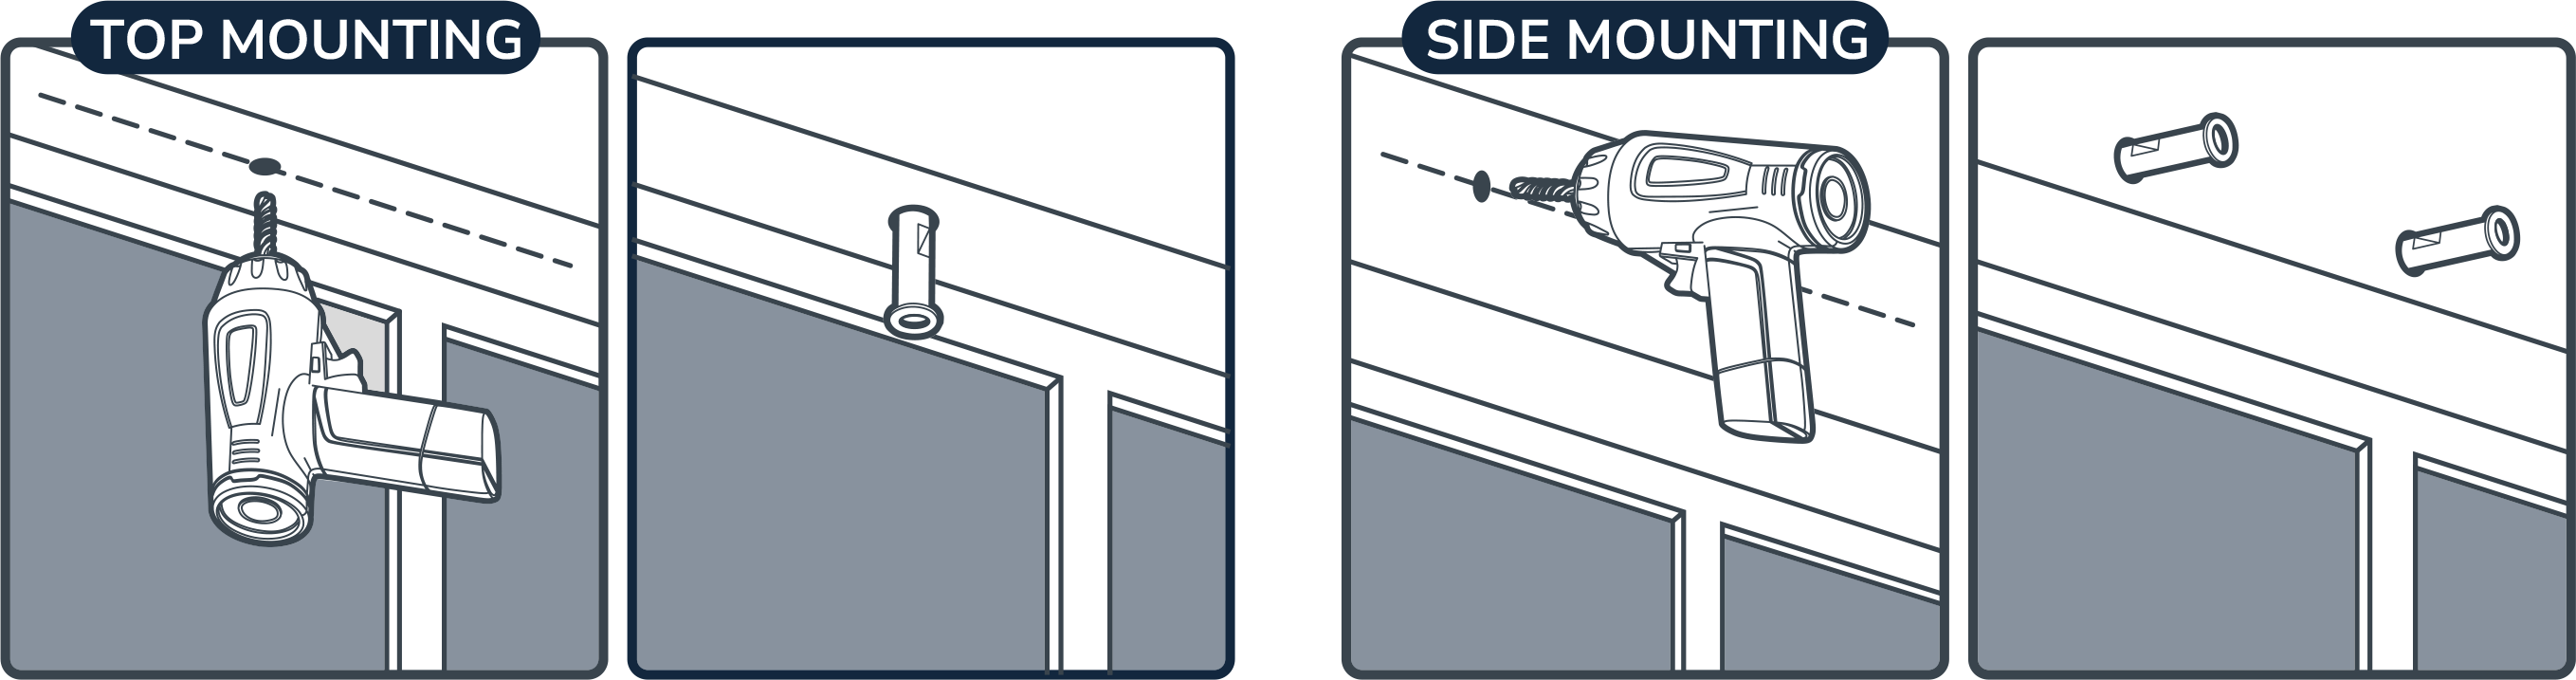
STEP 1:
1. Mark the drilling position and drill a hole with an impact drill.
2. Insert the expansion tube (3)
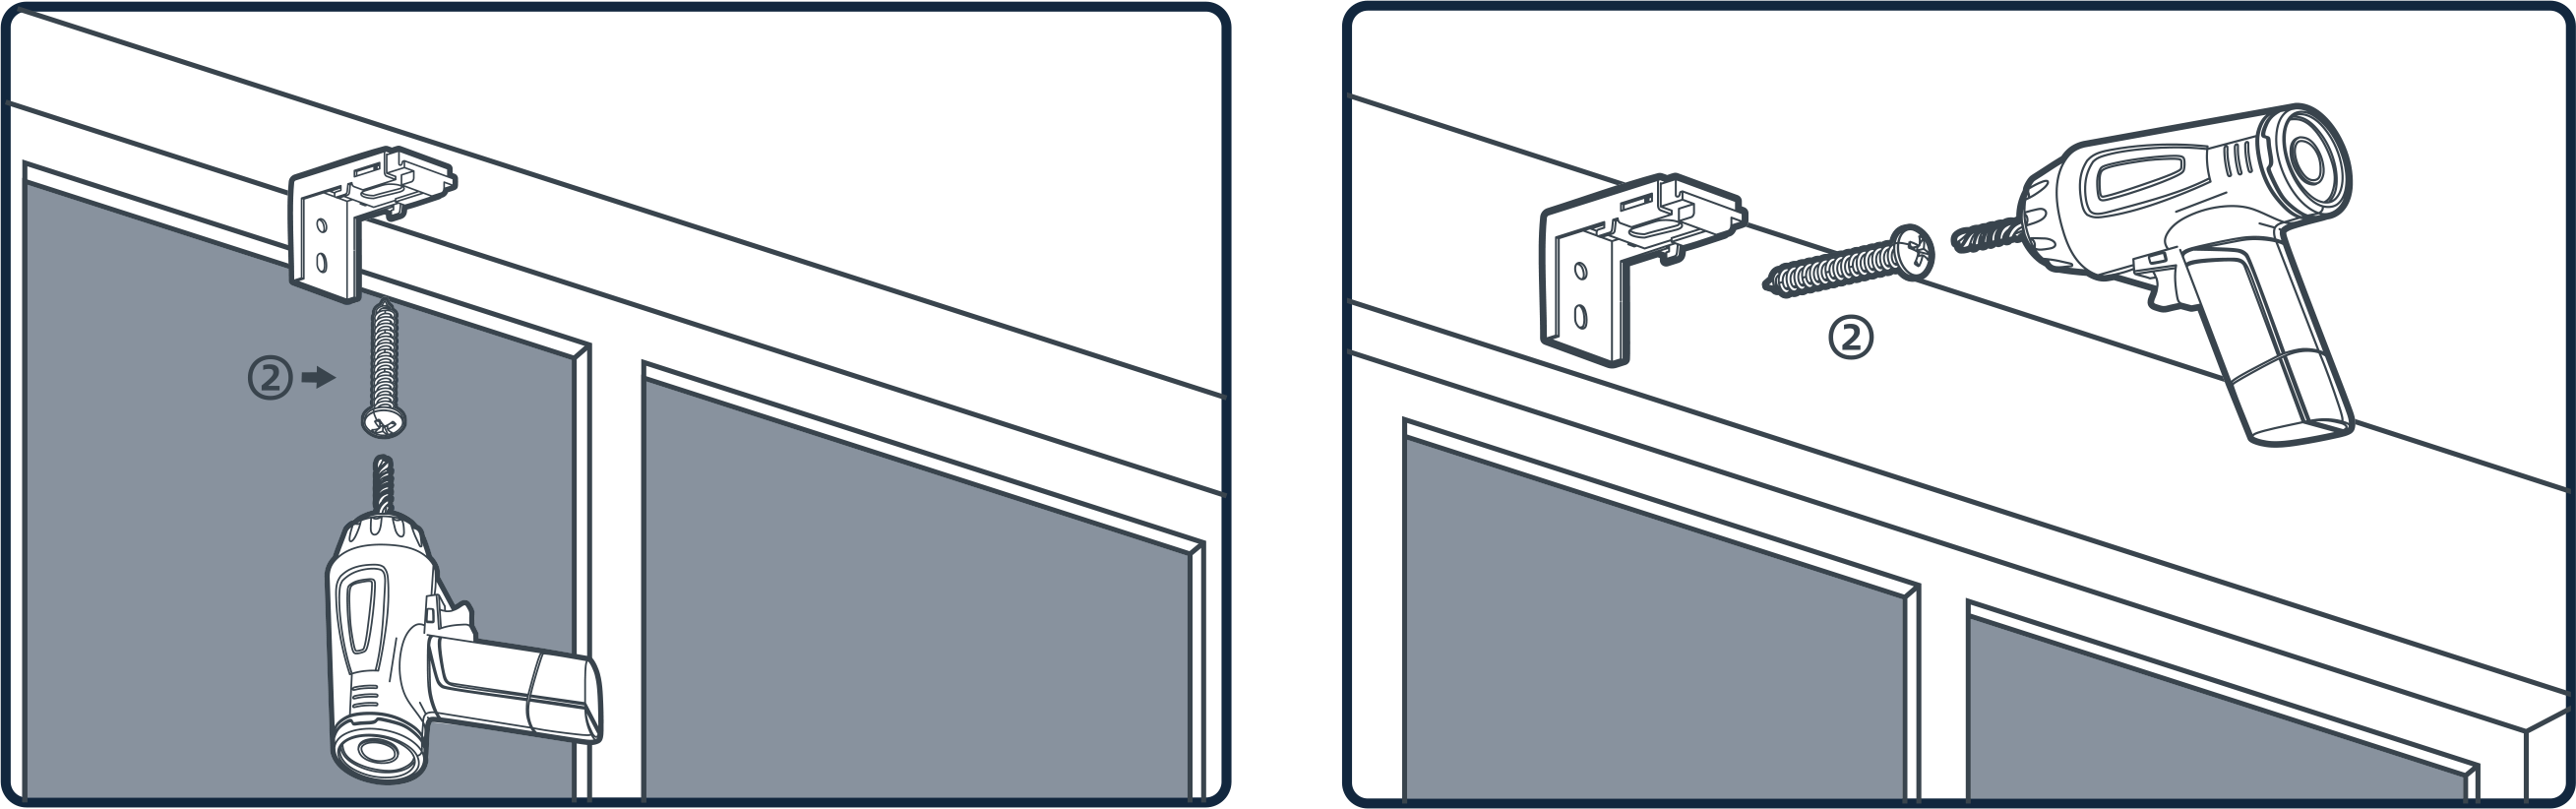
STEP 2:
Install the mounting brackets (1) one by one and tighten the screws
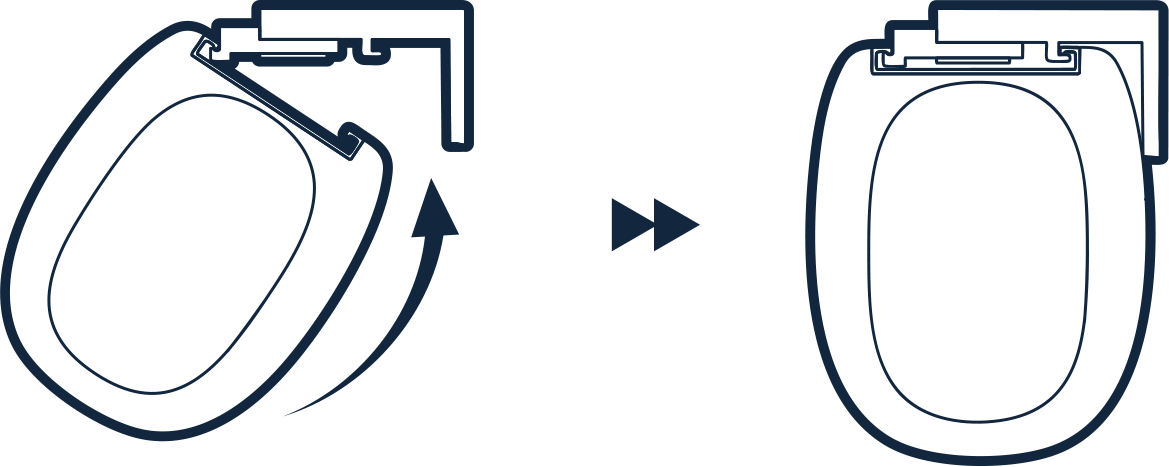
STEP 3:
Snap the product into the mounting bracket (1)
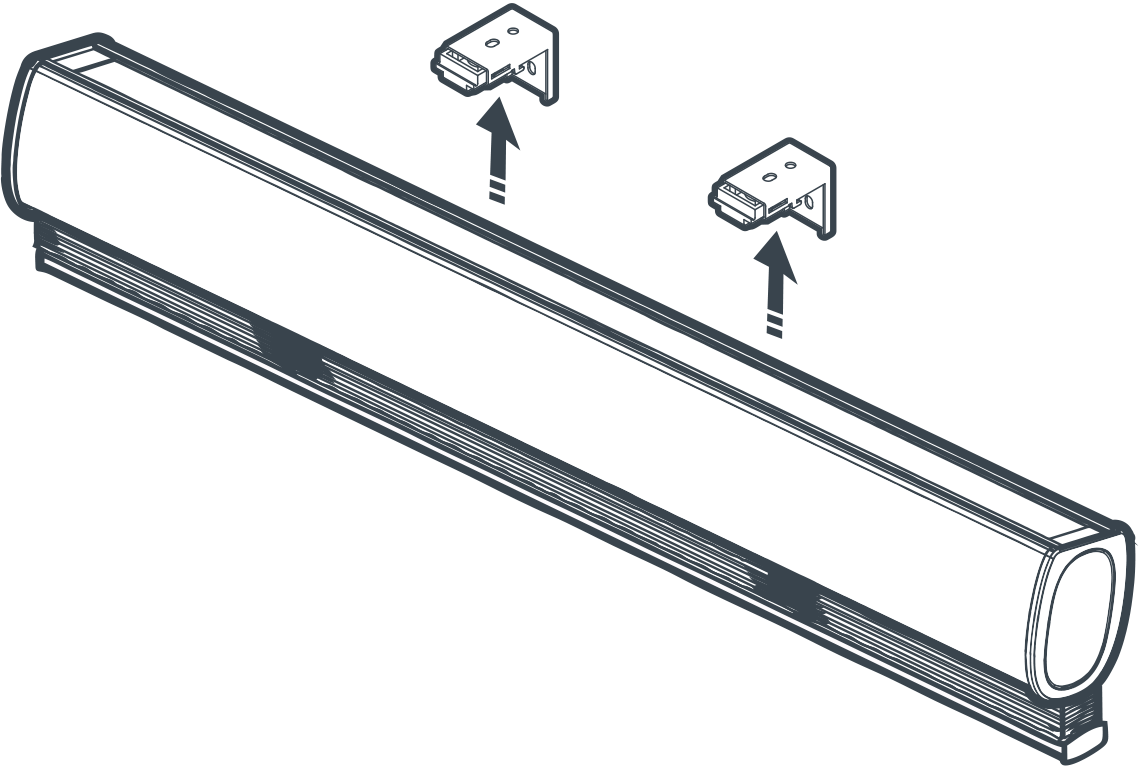
First, snap the rear slot of the product into the mounting bracket.
Push upward in the direction of the arrow to install the product in place.