
How to Fit Venetian Blinds
When fitting Venetian blinds, it is important to follow a clear and structured installation process to ensure correct alignment, safe operation, and long-term performance.This guide provides step-by-step instructions for each stage of the installation. It also includes guidance on choosing the correct fixing method for your window, helping to achieve a secure fit, smooth operation, and compliance with safety requirements.
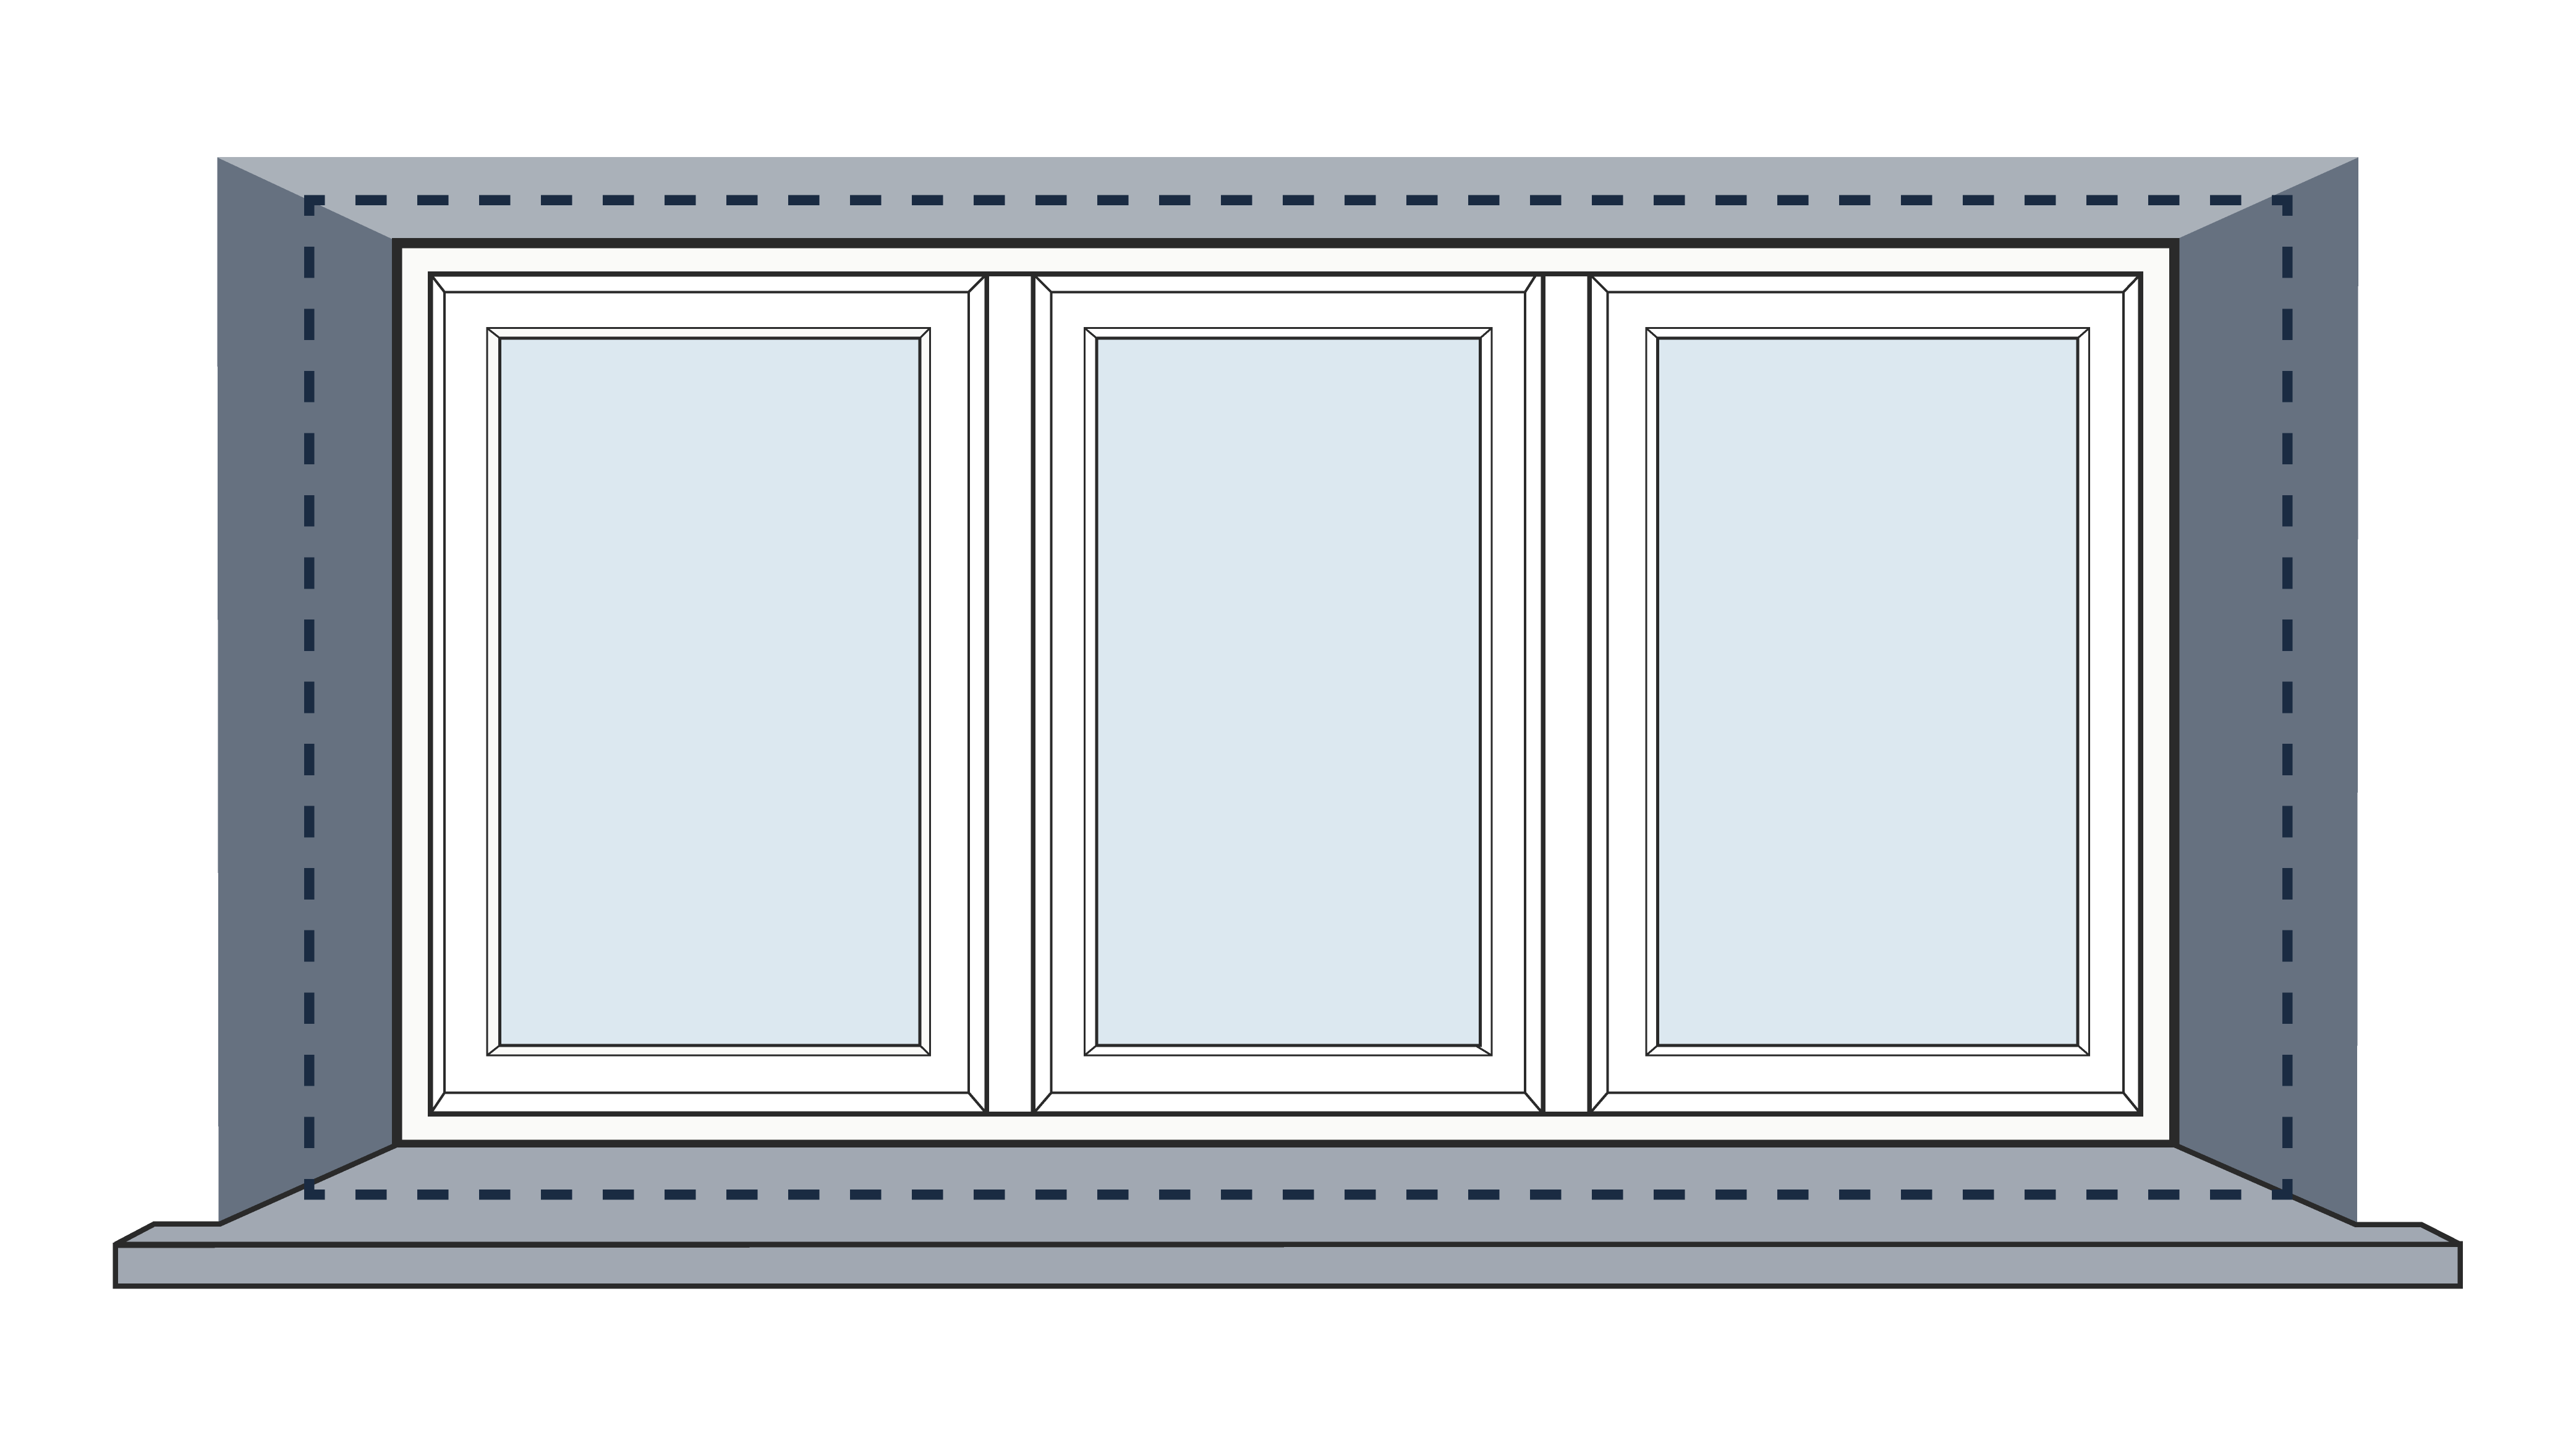
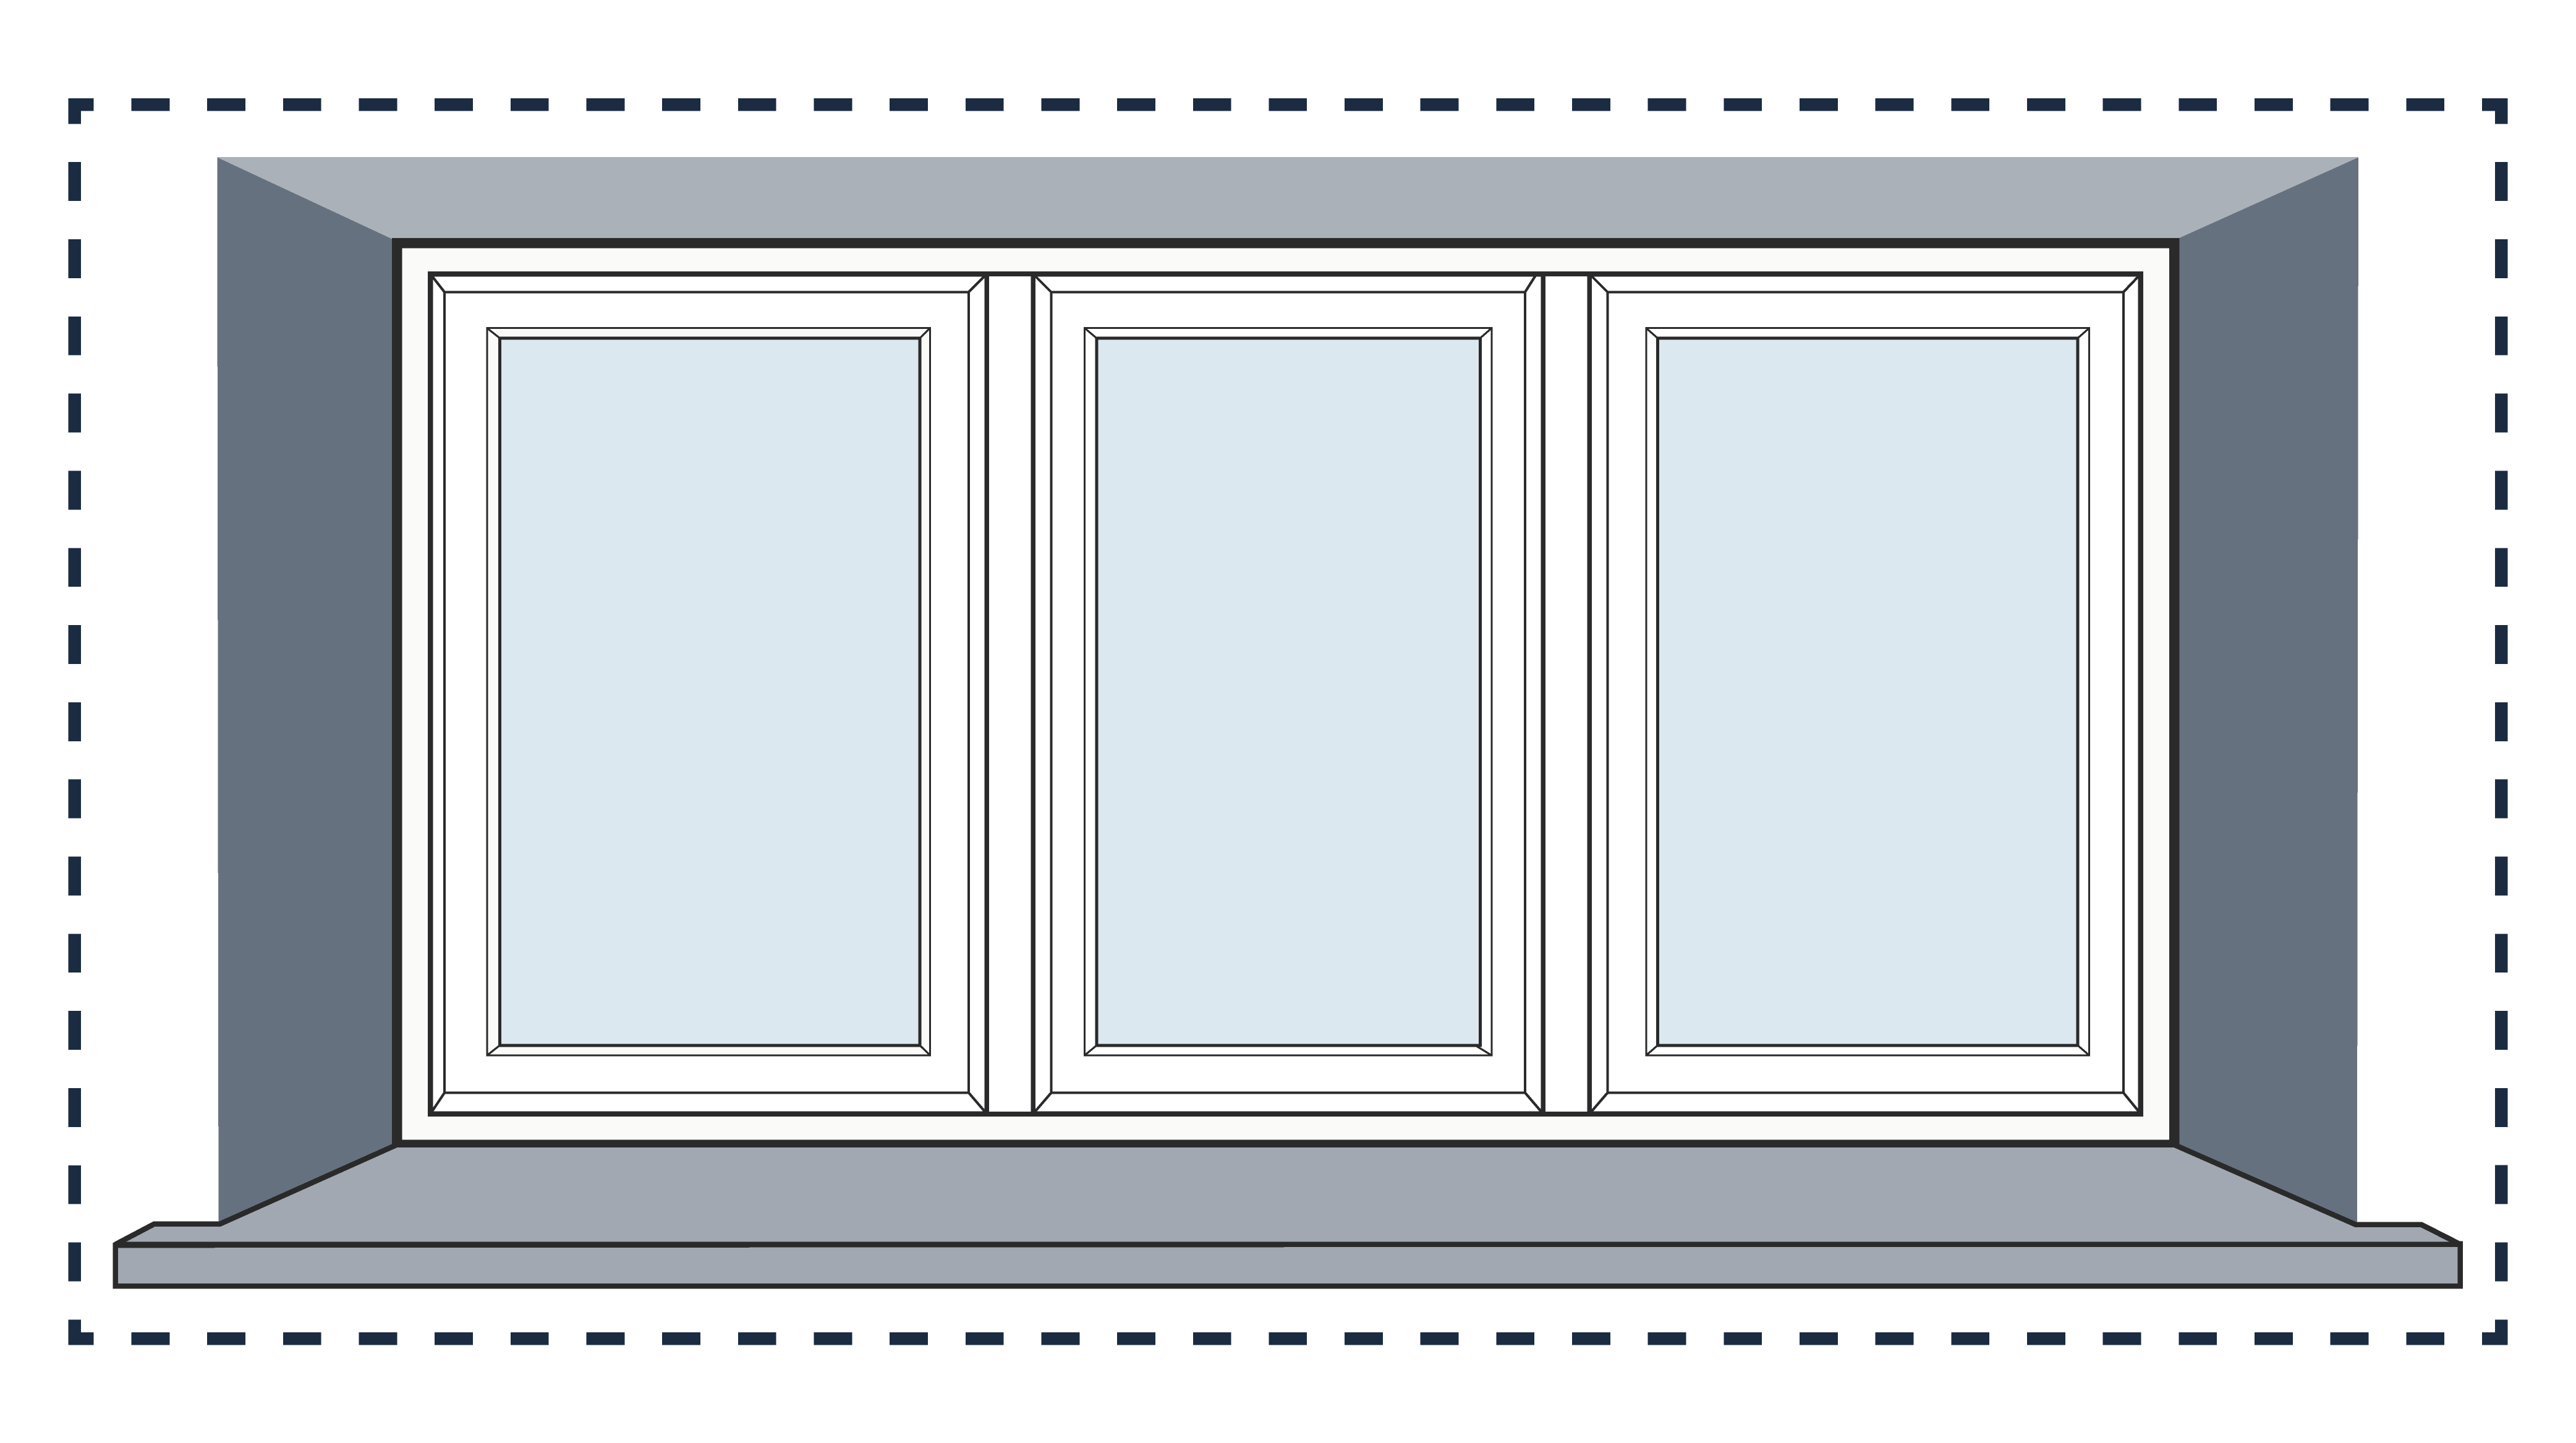
Measuring for the Best Fit
- For inside recess fittings, allow approximately 10 mm clearance to ensure a neat fit.
- For outside recess fittings, we recommend adding around 120 mm to the overall width to help minimise light gaps.
Before You Start Fitting
The fixing method should be decided before your blind is manufactured.Venetian blinds can be fixed to the wall, ceiling, or window frame. However, fixing directly into plastic or aluminium window frames is not recommended, as drilled holes cannot be repaired.
While positioning is largely a matter of personal preference, Venetian blinds generally perform best when fitted inside the recess, offering improved light control and insulation. If window handles or other obstructions are present, fitting outside the recess may be the more suitable option.
Important Installation Note
Brackets should be positioned approximately 110 mm in from each end of the headrail.Additional brackets can be spaced evenly across the width of the blind as required to provide adequate support.
Part 1
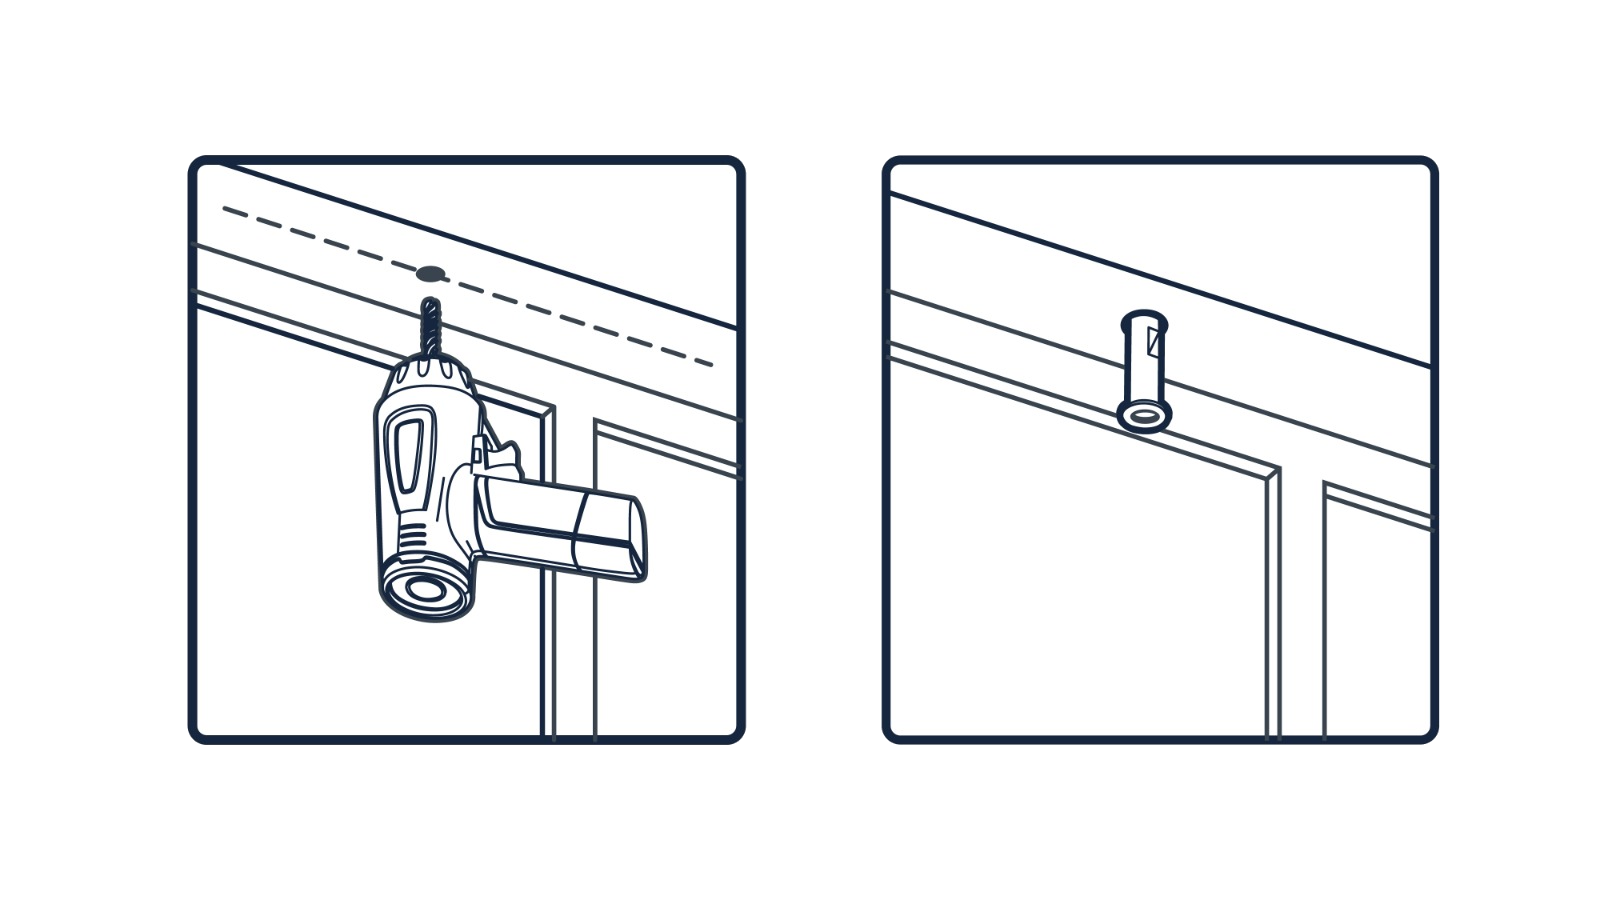
Installing the Brackets
- Position the brackets on the underside of the lintel where the blind will be installed. Use a spirit level to ensure they are perfectly level.
- Hold the brackets in place and mark the fixing hole positions with a pencil.
- Check that the bracket holes align with your markings, then insert the screw and begin drilling carefully.
- Drive the first screw approximately two-thirds of the way into the wall.
- If the bracket has moved, re-align it so the second fixing hole lines up with the second marking.
- Secure the second screw fully into the wall, then tighten the first screw completely.
- Once the first bracket is firmly fixed, repeat the process for the remaining brackets.
Part 2
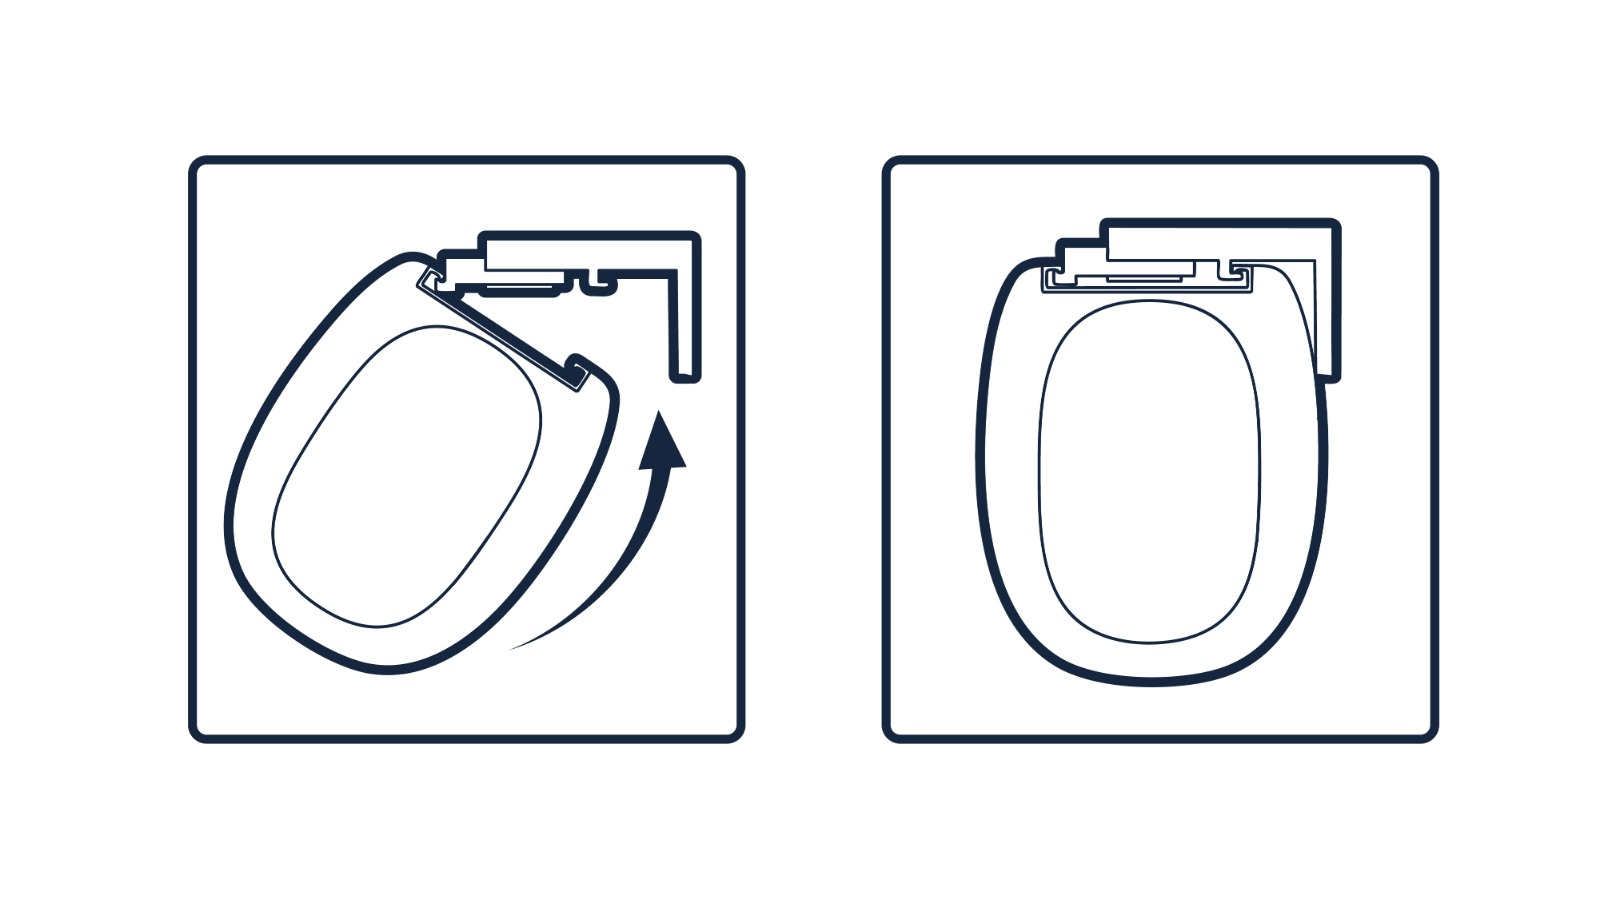
Fitting the Venetian Blind
- With the blind fully raised, lift the headrail into position and align it with the installed brackets.
- Push the headrail firmly upwards until it clips securely into place on the brackets. You should hear or feel a click when it is correctly engaged.
- Check that the blind is securely fixed by gently pulling down on the headrail.
- Lower and raise the blind to ensure smooth operation and correct installation.
Part 3
Safety First
Before considering the installation complete, it is essential to check the safety of your blind.The cords, chains, and tapes used to operate Venetian blinds can pose a risk of entanglement or strangulation to children and pets. This risk can be significantly reduced by fitting the supplied cord safety device (cleat).
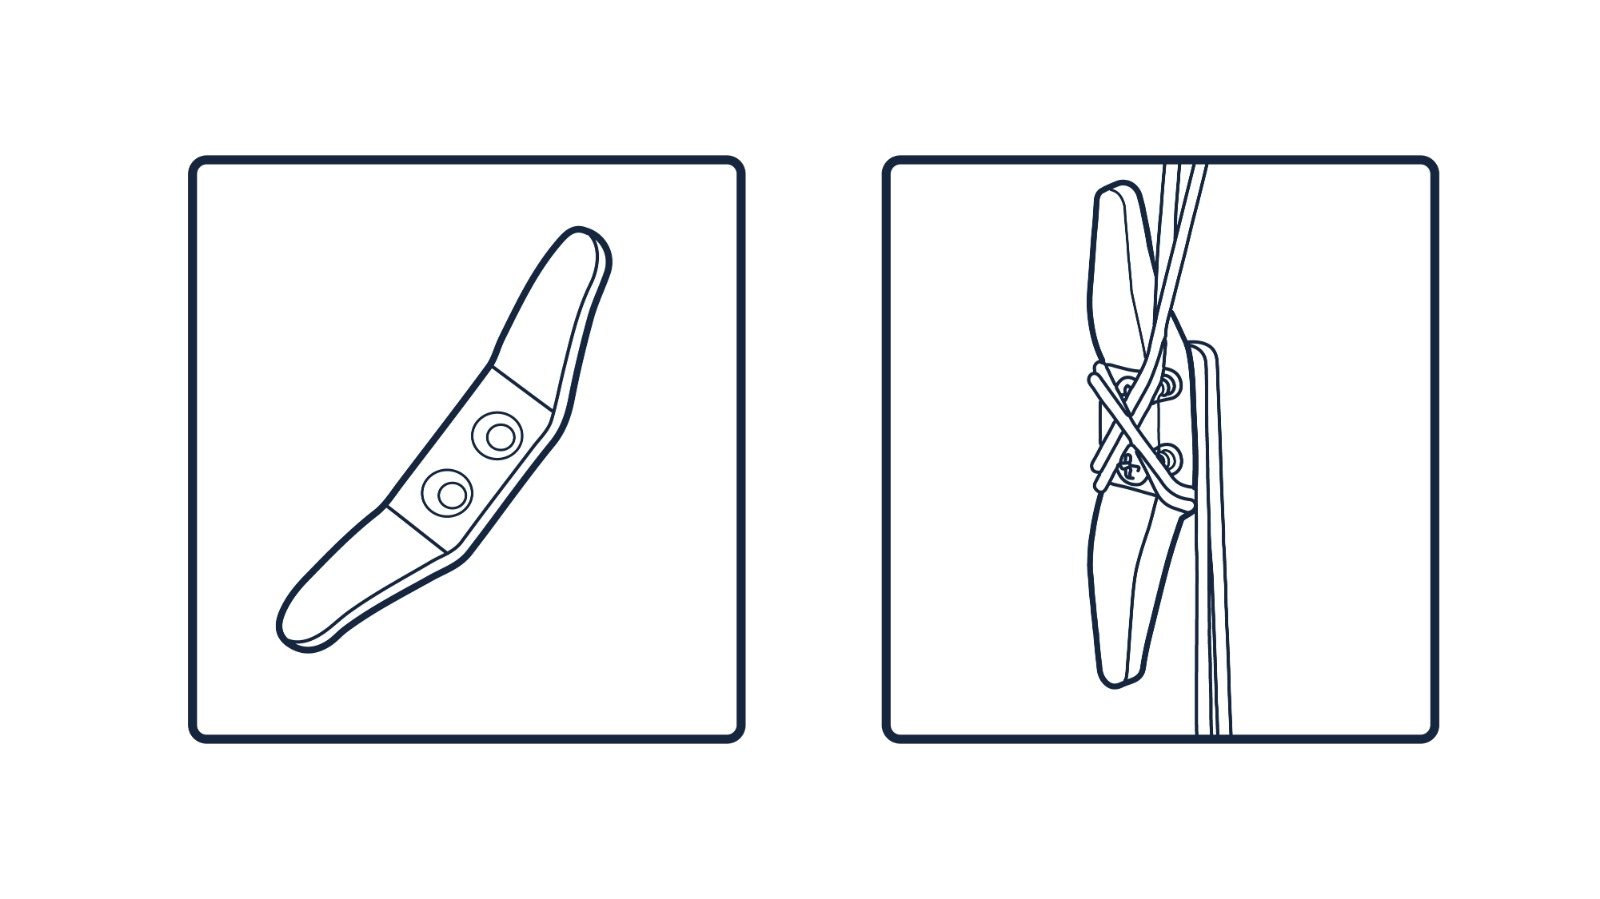
Fitting the Safety Device
- Once the blind is fully installed, measure at least 1.5 metres from the floor on the control side. This is the recommended position for the safety device.
- Hold the cleat against the wall and mark the screw positions through the fixing holes.
- Align the cleat with the markings and secure it to the wall using screws.
- Wrap the operating cords neatly around the cleat to keep them taut and safely out of reach.